The Best Home Made Macaroni and Cheese

Thursday, November 4, 2010

The Best Home Made Macaroni and Cheese
Don't believe it? I think you should try it!

I went into this recipe feeling really nervous about whether or not it would turn out. I have tried on numerous occasions to make a good mac and cheese with horrible results. Either the cheese would be really bland or the it would be too crispy or crunchy or runny or overdone- but this came out perfect. I am really impressed how amazing this recipe came out. This is honestly the best home made macaroni and cheese that I have ever tasted. 

But honestly, the cheese completely coats the thickened macaroni noodles in it's bed of delicious creamy cheesy flavorful sauce.  The consistency of the cheese sauce was perfect. The topping was baked to perfection and provided a wonderfully tasty yet slightly crunchy topping. I really could have sat there and ate the whole dish of macaroni and cheese, but I stopped myself. My mom actually gave me the warning today to try to stay away from all of the sweets that I post on here.  LOL. I am glad that she is looking out for me. 

My original recipe for tonight was going to be a vegetarian macaroni chili with fire roasted tomatoes and red beans.  However, I sent my husband a text about dinner and he said that he had some Wendy's Chili for lunch today. Man, I don't understand. There is this 'strange' occurrence that happens every time I make chili that Rob already has had chili for lunch. He swears that he isn't ducking out on eating chili, but this is really a strange pattern. :)

Here is the recipe that I used for this Macaroni and Cheese


The Best Home Made Macaroni and Cheese

2 Tbsp Butter
2 Tbsp Flour
1 Tsp Salt
1 Tsp Dry mustard
2 1/2 Cups Milk
2 1/2 Cups of shredded Velveeta style cheese
8 Oz Macaroni (2 Cups)
1/4 Cup bread crumbs ( I used garlic seasoned bread crumbs)

Prep Time: 20 minutes
Cooking Time: 20 minutes
Clean Up Time: 10 minutes
Preheat oven to 375 degrees

1. In a sauce pan, melt butter


2.  Once butter is melted, remove from heat. Blend in flour, salt, and mustard.


3. Add milk, constantly stir on medium heat until sauce thickens and is smooth


4. Add two cups of shredded cheese; heat until melted. Stir occasionally


5. Meanwhile cook macaroni as directed; drain.


6. Combine macaroni in cheese sauce mixture in a 2 Qt casserole. I combined it in the oven safe pan that I made the cheese sauce in.  I try to be a one pan cook whenever possible. :)


7.  Top with remaining 1/2 Cup of shredded cheese, bread crumbs, and paprika.


8. Bake at 375 degrees for 20- 25 minutes or until brown and bubbly.
Make 4- 6 servings


..And there you have it!  Your very own home made macaroni and cheese.  I made corn muffins and broccoli as sides. I think the comments on my hot dog post got me thinking about eating corn dogs. 


I called my mom and told her all about my lovely blog readers and she mentioned that she had my grandmother's old Hungarian cook book. I'm very excited about this.  I told her that I wanted it right away. That and I wanted that and a bunt pan.  There is this really cool 'hidden sloppy joe' recipe that I want to make, but don't want to buy a bunt pan and just have it sit there forever and never get used. 

I hope that you all enjoy this recipe. 

One Love,

Virginia

Light N' Fruity Pie

Tuesday, November 2, 2010

Light and Fruity Pie
Thousands of combinations designed by you!
Rootie Tootie Sweet and Fruity
Move over jello mold, your getting put in a pie.

Check below for Alex's second blog debut!

This is a great desert that is easy to personalize depending on you and your family's taste.  It very sweet and tasty and you can add any fruit you want. Well, any fruit except for pineapple. There is something in the pineapple that makes the jello not congeal.  For this pie I chose cherry jello and mandarin oranges, our two favorite flavors. :)  The graham cracker crust offsets the sweet filling perfectly to give you this nice and light balanced pie.

This is another recipe that you can substitute healthier options. You can use sugar free jello, low calorie or ''free" cool whip, and a reduced fat graham cracker crust. I used regular ingredients (except for a reduced fat crust) for this pie instead of the lower calorie options. By adding it up just the standard way, I would predict that each slice of pie is going to be around 175- 200 calories.

Light and Fruit Pie

1 Pkg of Jello, small
2/3 Cup Boiling water
2 Cups Ice
1 Tub Cool Whip
1 Prepared Graham cracker crust
1 8 oz can of fruit your choice, no pineapple please!


1. Dissolve Jello into 2/3 Cup of Boiling water


2. Add Ice to gelatin until it is thickened


Remove any remaining ice if there is any left after it has thickened


3. Using wire whisk, blend in cool whip.


Blend until smooth.


4.  Fold in fruit. Chill in the refrigerator for 15 minutes.  Chilling it will allow the filling to mound and fill into the pie better.


5.  Pour into prepared Graham cracker crust. Keep refrigerated until ready to eat. Yum!


That's all there is to it. You have your very own personalized pie! Try different combinations of fruit and jello until you get exactly what you want.  If you prefer to use fresh fruit instead, you can substitute 1 cup of fresh fruit, or 1 cup of frozen fruit.  You can also mix and match fruits. The possibilities are virtually limitless. I think next time I might try some type of strawberry banana. 


The whole process of making this pie was like a big cool science experiment, from the gelatin congealing, to adding cool whip, to it thickening in the refrigerator. My little helper had a lot of hands in making this one. 

He even insisted in cleaning up afterwards.  But, honestly, he loves playing in water. He wanted to help Mama 'wash the dishes' so I cleaned up all of the knifes and scissors and all the sharp things that he could get into, and let him play in the water. I took a little video of him washing the dishes below.  He is such a little sweetheart.


I hope that you all have a blessed Wednesday, and a great end of the week.

One Love,

Virginia

Hot Dogs in a Blanket

Hot Dogs in a Blanket
No hot dog buns- You're in luck!
Fun to make for your little helpers

This recipe really looked like too much fun to pass up. You can't really go wrong with little kids and hot dogs. This was a lot of fun to cook as well as to watch cooking. The dough raises up around the hot dogs and makes individual buns as it cooks- so much fun!

The bread is really good and sweet.  It has a sweet taste similar to corn bread. The baked cheese in the hot dogs makes it taste like a cheesy corn dog. Yum!

I really hope that you enjoy this recipe. 

Hot Dogs in a Blanket

6 Hot dogs
6 Strips of Cheddar cheese/ 1 Cup of Shredded cheddar
1 Cup Bisquick
1/4 Cup Milk
1 Tsp. Parsley
1 Egg

Prep Time: 10 Minutes
Cook Time: 20 Minutes
Clean Up Time: 5 Minutes

Preheat oven to 400 degrees

1.  Mix bisquick, milk, parsley, and one egg together


2. Spread batter in the bottom of a baking dish


3. Cut Hot dogs in half, but not all the way through.  Put cheese slices in hot dogs.


4. Press hot dogs in the batter in the pan.


5. Bake 20 minutes or until bread is lightly brown. Dough will raise around hot dogs while it cooks.


6. Slice Hot dogs apart and enjoy!


It was really fun to create this easy cheesy meal.  It was enjoyed by everyone.

One Love,

Virginia

Grandma's Secret Peanut Butter Cookies

Thursday, October 28, 2010

Grandma's Secret Peanut Butter Cookies
Secret Recipes revealed Vol. 1

These were always my favorite cookies that my grandma made when I was growing up. I would beg my mom to make them all of the time.  I have fond memories of my mother making them for play tea time with my dolls.  Why am I releasing my grandma's 'secret recipe'? I guess it's because I would rather have everyone enjoy what I grew up enjoying. 

The peanut butter cookie itself is very versatile, and there are a lot of different cookies you can make using this peanut cookie dough base. I've got some excellent ideas (in picture form) of things that you can do with this cookie dough.  Or, if you like you can just eat the cookie the way it is.

I really wanted to get started making cookies because the holidays are coming up, and I wanted to get a head start for what I was going to make to give this year.

My little helper was taking his daily nap while I was making these, but I'm sure that he will love what he wakes up to!!

Grandma Cruden's Peanut Butter Cookies

1 Cup Creamy peanut butter
1 Cup Butter
3 Cups All- purpose flour
3/4 Tsp. Salt
1/2 Tsp. Baking Powder
1 Cup Brown Sugar
2 Eggs
2 1/4 Tsp Vanilla

Prep Time: 15 minutes
Baking Time: 10 minutes
Clean Up Time: 5 minutes
Yields: 5 dozen cookies


Preheat Oven to 375 Degrees

1. Mix dry ingredients together: Flour, Salt, and Baking Powder


2. Cream together Peanut Butter and Butter


                    3.  Mix in Brown Sugar. Beat in Eggs and Vanilla.


4.  Slowly add dry ingredients to creamed mix.


5. Shape dough into 1" balls. Bake at 375 for 8 to 10 minutes (mine took 10 minutes)


As I mentioned before there are a lot of different variations that you can do with this dough. This is what I did for this batch.

Variation 1: Roll dough into balls. Press top with fork two times so that it makes a tic- tac- toe  mark on the top. You can either leave the cookies the way they are or sprinkle the top with cinnamon sprinkles or white sugar granules


End Product...


Variation 2: Indent top of cookie with thumb and fill with Jelly. This cookie may take a minute longer to bake.


End product...


Variation 3: Bake cookies and let cool. Melt 6 oz of Semi Sweet Chocolate with 1/3 cup Evaporated Milk and 2 cups Confection's Sugar. Dip cookie in chocolate and then in nuts.

(Sorry, pictures soon to come)


Also, for a little bit of a different flavor to your peanut butter cookie you can add just a little bit of cinnamon to the dough.


Be sure to catch my blog tomorrow! I making a awesomely fun kids meal. It will make you smile for sure. :)

I hope that you all really have fun baking this recipe. Let me know what you think!

One Love,


Virginia

Shepard's Pie

Tuesday, October 26, 2010

Shepard's Pie
A nice way to dress up your hamburger tonight

Oh man! Another comfort food recipe! What can I say? It's that time of the year where I just want to stay inside where it's nice and warm, and watch the rain pour over the autumn colored leaves.  This recipe has a very rich flavor and is sure to keep you warm and full all evening!

It was quick and simple. The ingredients were very inexpensive, and the end product had a lot of servings- a whole pie worth of servings!!

Alex really wanted to help so I let him decorate the top after it was done. Check out the pictures at the end of the post for the finished Alexander masterpiece.

Shepard's Pie

2 Cups of Mashed Potatoes
1 Lb Ground Beef
2 Cans of vegetables- your choice
1 pkt of brown gravy

Heat oven to 375 degrees.

1. Brown meat in pan. 

2. Prepare packet of brown gravy as recommended.

3. Add vegetables and gravy to meat. Mix well.


4. Push mixture into pan.


5.  Cover with Mashed Potatoes. If the mashed potatoes are more creamy rather than stiff, then they will spread over the hamburger mix better. Baked uncovered for 20- 25 minutes.


After it is baked- Enjoy. I was really nervous if my little man would eat this or not, so I put freshly shredded cheddar cheese on the top of it as soon as it came out of the oven.  I also let him decorate it with his toys.  He especially loved the toy part!


We had to really stick the little guy deep in the middle to get him to stand up. He would kind of start leaning, and little man would go ooohhhhh noooo mama!!

I hope you all enjoy!

One Love,

Virginia

Chicken Creole Bake

Chicken Creole Bake
A more healthful way to get the taste of stuffed peppers

It really tastes quite similar to stuffed peppers, but has the substitute of chicken instead of ground beef. Ground beef is a red meat; and is not only bad for your heart, but is also bad for the environment.  This is a wonderful comfort food. The heart burn alert isn't really bad on this one two. For heart burn, I would give it a 2 out of 5 (1 being the least, 5 being the most heartburn.)
When I finished making this, I realized that this is actually a dish that my mother made all of the time.  The name 'creole' really threw me off a little bit as well as the name 'bake'. 

Chicken Creole Bake

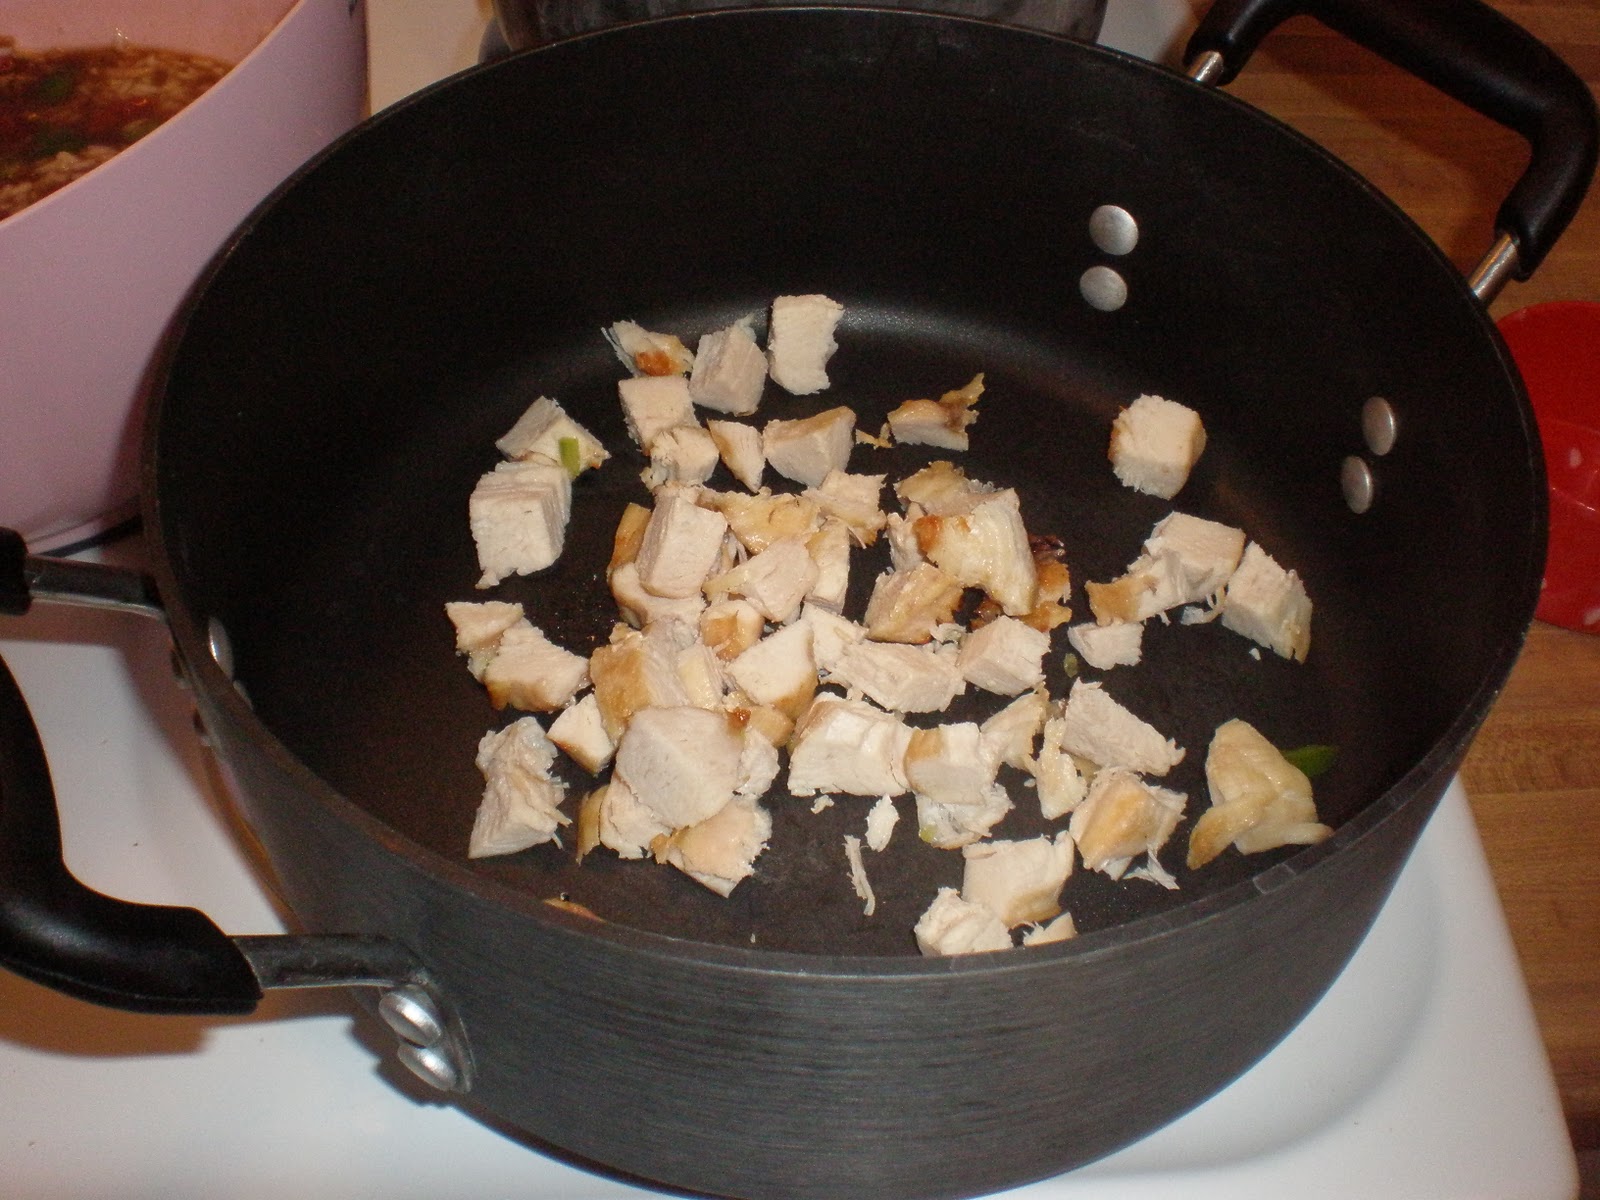
1 lb Chicken breast cubed
1 Envelope onion- mushroom soup
2 1/4 Cup boiling water
1 Can Diced tomato
1 Cup White rice
1 Cup Green pepper

Prep Time: 15 minutes
Cook Time: 1 hour
Clean Up Time: 10 minutes

Preheat oven to 450.

1. Bake chicken 30 minutes uncovered. Cubed when cooked


2. Reduce heat to 350 degrees. Mix Onion- Mushroom soup with water.


3. In a medium bowl, mix soup base, tomato, rice and green pepper.


4. Combine chicken, and all other ingredients together. Bake covered for 35 minutes.Juice will absorb slightly while it stands.


This was pretty good. It was really a great comfort food. It brought me back to being 5 years old again.  My mom used to make this all the time once it started to get cold outside.  Alex liked it, but he really likes tomatoes. 

Even though this is healthful there are some substitutes that you can make to make it a prime grade A healthy meal.  Here are my suggestions: There is a soup base that contains slightly higher sodium content than I like, but has such a rich flavor. You can substitute this with a low sodium choice. You can also substitute white rice for brown rice. Brown rice is actually a wonderful array of nutrients and vitamins.  White rice is not bad for you, but the nutrients have been bleached out similar to white bread.
I hope you all enjoy. Sorry for this short post I have been feeling a little bit under the weather.

One Love,

Virginia