Grandma's Secret Peanut Butter Cookies

Thursday, October 28, 2010

Grandma's Secret Peanut Butter Cookies
Secret Recipes revealed Vol. 1

These were always my favorite cookies that my grandma made when I was growing up. I would beg my mom to make them all of the time.  I have fond memories of my mother making them for play tea time with my dolls.  Why am I releasing my grandma's 'secret recipe'? I guess it's because I would rather have everyone enjoy what I grew up enjoying. 

The peanut butter cookie itself is very versatile, and there are a lot of different cookies you can make using this peanut cookie dough base. I've got some excellent ideas (in picture form) of things that you can do with this cookie dough.  Or, if you like you can just eat the cookie the way it is.

I really wanted to get started making cookies because the holidays are coming up, and I wanted to get a head start for what I was going to make to give this year.

My little helper was taking his daily nap while I was making these, but I'm sure that he will love what he wakes up to!!

Grandma Cruden's Peanut Butter Cookies

1 Cup Creamy peanut butter
1 Cup Butter
3 Cups All- purpose flour
3/4 Tsp. Salt
1/2 Tsp. Baking Powder
1 Cup Brown Sugar
2 Eggs
2 1/4 Tsp Vanilla

Prep Time: 15 minutes
Baking Time: 10 minutes
Clean Up Time: 5 minutes
Yields: 5 dozen cookies


Preheat Oven to 375 Degrees

1. Mix dry ingredients together: Flour, Salt, and Baking Powder


2. Cream together Peanut Butter and Butter


                    3.  Mix in Brown Sugar. Beat in Eggs and Vanilla.


4.  Slowly add dry ingredients to creamed mix.


5. Shape dough into 1" balls. Bake at 375 for 8 to 10 minutes (mine took 10 minutes)


As I mentioned before there are a lot of different variations that you can do with this dough. This is what I did for this batch.

Variation 1: Roll dough into balls. Press top with fork two times so that it makes a tic- tac- toe  mark on the top. You can either leave the cookies the way they are or sprinkle the top with cinnamon sprinkles or white sugar granules


End Product...


Variation 2: Indent top of cookie with thumb and fill with Jelly. This cookie may take a minute longer to bake.


End product...


Variation 3: Bake cookies and let cool. Melt 6 oz of Semi Sweet Chocolate with 1/3 cup Evaporated Milk and 2 cups Confection's Sugar. Dip cookie in chocolate and then in nuts.

(Sorry, pictures soon to come)


Also, for a little bit of a different flavor to your peanut butter cookie you can add just a little bit of cinnamon to the dough.


Be sure to catch my blog tomorrow! I making a awesomely fun kids meal. It will make you smile for sure. :)

I hope that you all really have fun baking this recipe. Let me know what you think!

One Love,


Virginia

Shepard's Pie

Tuesday, October 26, 2010

Shepard's Pie
A nice way to dress up your hamburger tonight

Oh man! Another comfort food recipe! What can I say? It's that time of the year where I just want to stay inside where it's nice and warm, and watch the rain pour over the autumn colored leaves.  This recipe has a very rich flavor and is sure to keep you warm and full all evening!

It was quick and simple. The ingredients were very inexpensive, and the end product had a lot of servings- a whole pie worth of servings!!

Alex really wanted to help so I let him decorate the top after it was done. Check out the pictures at the end of the post for the finished Alexander masterpiece.

Shepard's Pie

2 Cups of Mashed Potatoes
1 Lb Ground Beef
2 Cans of vegetables- your choice
1 pkt of brown gravy

Heat oven to 375 degrees.

1. Brown meat in pan. 

2. Prepare packet of brown gravy as recommended.

3. Add vegetables and gravy to meat. Mix well.


4. Push mixture into pan.


5.  Cover with Mashed Potatoes. If the mashed potatoes are more creamy rather than stiff, then they will spread over the hamburger mix better. Baked uncovered for 20- 25 minutes.


After it is baked- Enjoy. I was really nervous if my little man would eat this or not, so I put freshly shredded cheddar cheese on the top of it as soon as it came out of the oven.  I also let him decorate it with his toys.  He especially loved the toy part!


We had to really stick the little guy deep in the middle to get him to stand up. He would kind of start leaning, and little man would go ooohhhhh noooo mama!!

I hope you all enjoy!

One Love,

Virginia

Chicken Creole Bake

Chicken Creole Bake
A more healthful way to get the taste of stuffed peppers

It really tastes quite similar to stuffed peppers, but has the substitute of chicken instead of ground beef. Ground beef is a red meat; and is not only bad for your heart, but is also bad for the environment.  This is a wonderful comfort food. The heart burn alert isn't really bad on this one two. For heart burn, I would give it a 2 out of 5 (1 being the least, 5 being the most heartburn.)
When I finished making this, I realized that this is actually a dish that my mother made all of the time.  The name 'creole' really threw me off a little bit as well as the name 'bake'. 

Chicken Creole Bake

1 lb Chicken breast cubed
1 Envelope onion- mushroom soup
2 1/4 Cup boiling water
1 Can Diced tomato
1 Cup White rice
1 Cup Green pepper

Prep Time: 15 minutes
Cook Time: 1 hour
Clean Up Time: 10 minutes

Preheat oven to 450.

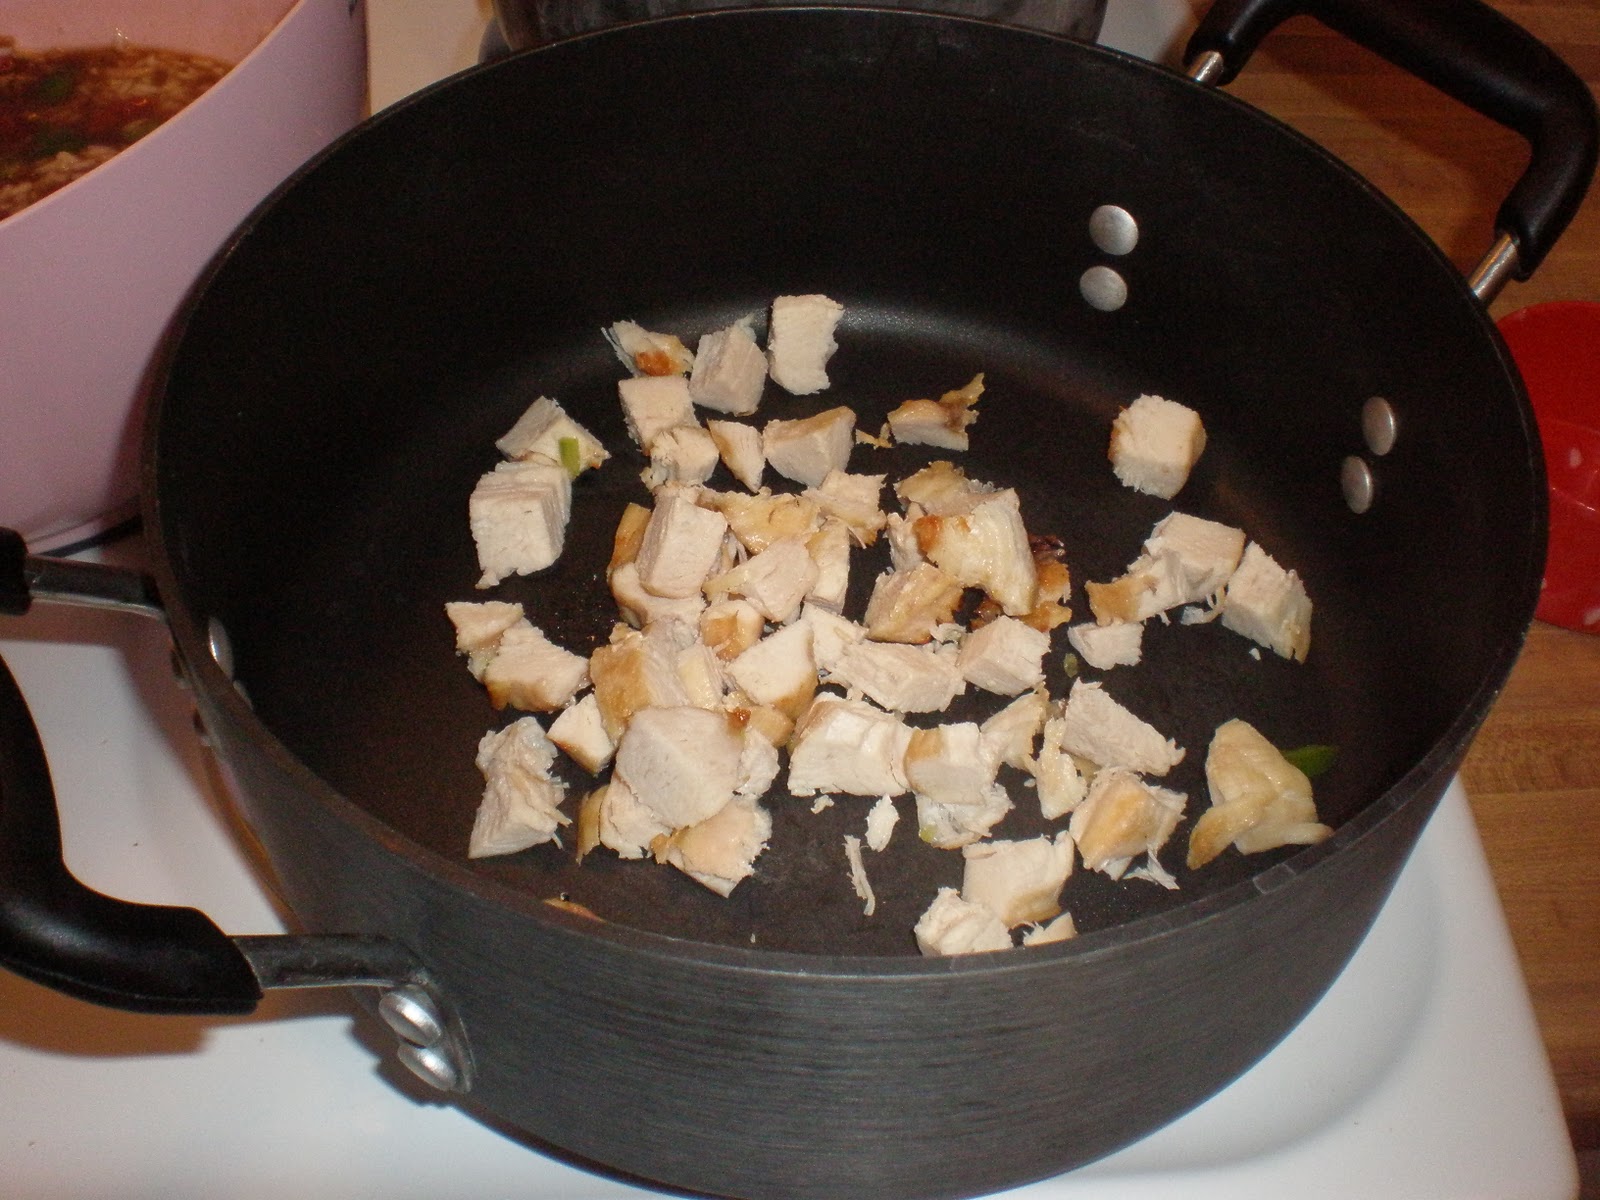
1. Bake chicken 30 minutes uncovered. Cubed when cooked


2. Reduce heat to 350 degrees. Mix Onion- Mushroom soup with water.


3. In a medium bowl, mix soup base, tomato, rice and green pepper.


4. Combine chicken, and all other ingredients together. Bake covered for 35 minutes.Juice will absorb slightly while it stands.


This was pretty good. It was really a great comfort food. It brought me back to being 5 years old again.  My mom used to make this all the time once it started to get cold outside.  Alex liked it, but he really likes tomatoes. 

Even though this is healthful there are some substitutes that you can make to make it a prime grade A healthy meal.  Here are my suggestions: There is a soup base that contains slightly higher sodium content than I like, but has such a rich flavor. You can substitute this with a low sodium choice. You can also substitute white rice for brown rice. Brown rice is actually a wonderful array of nutrients and vitamins.  White rice is not bad for you, but the nutrients have been bleached out similar to white bread.
I hope you all enjoy. Sorry for this short post I have been feeling a little bit under the weather.

One Love,

Virginia

Quick Cornish Pasty - Two Year Old Approved

Friday, October 22, 2010

Quick Cornish Pasties
Two Year Old Approved

I remember when I was a child riding up north and getting pasties.  Pasties are such a great Northern Michigan tradition.  I also remember asking my  mom when we are going to get Paste-tees.  If you know my mom, you know that she is a quiet Christian woman. She would just shake her head and get all upset and tell me, "No, Virginia, past-eees not paste-teees." My poor mother. I guess she should have known back then. Lol. 

I'm starting to see a real pattern in my grandmother's recipes. They seem to be recipes that are short cuts of long recipes. For example this one uses croissant in a tube instead of making the crust yourself. The pumpkin pie was a pumpkin pudding pie with a pre-made crust. I really like this. I do enjoy cooking, but I also don't enjoy cooking anything that will take over 30 minutes of prep time.  I think when I get down to it, more prep time= more clean up time.  And in the spirit of Halloween, boo on clean up time.

This is a really easy version of a pasty recipe. It is simple and VERY delicious. I gave my 2 year old taste- tester half of one for dinner last night, and he ended up wanting seconds. Then he wanted to get into the pasties that I left over for my husband, Rob. If you have young kids, I really do encourage everyone to try this recipe.  The end result is beautiful!  I was really impressed with how beautiful it looked coming out of the oven.

Enjoy!

Quick Cornish Pasties

1/4 Lb ground beef
1/2 Cup diced potato (1 small potato)
1/4 Cup finely diced onion ( half of a very small onion)
1/4 Cup of carrots or half of a small can of carrots
1 Can of Croissants rolls
1 Egg
1 Tbsp of water

Prep Time: 20 Minutes
Cook Time: 15- 20 minutes (mine took 15 minutes)
Clean Up Time: 5 minutes
Oven Temperature 350 degrees

1. Preheat oven to 350 degrees. In a skillet on med- high cook beef, diced potato, and finely diced onion.


2. When beef is browned and onions are slightly caramelized,  add carrots. I used canned carrots. I really like using canned carrots because they were easy to chop in the pan with my spatula. They were also very easy to break down into bite size pieces.


3. Add salt and pepper to taste. Adding salt and pepper after the food is done cooking will help lock in the flavor more than if it is used while it is cooking.

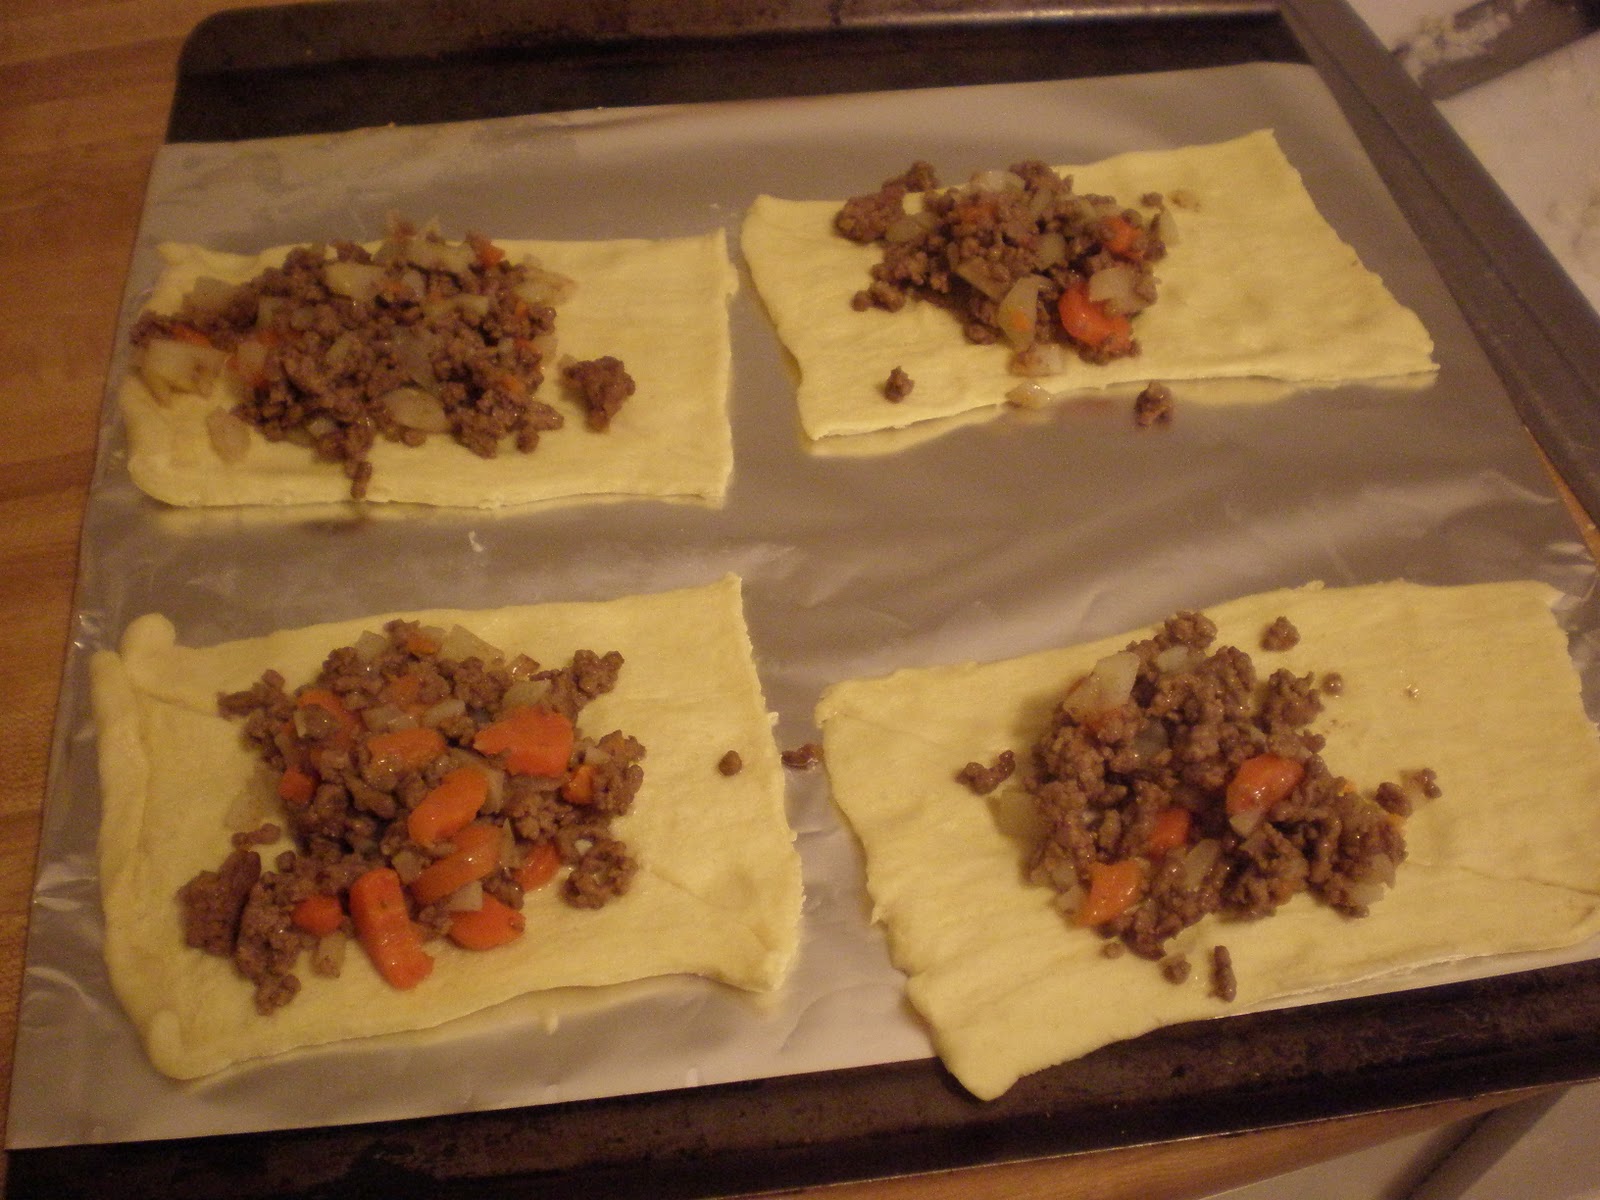
4. Open can of croissants. Separate into 4 rectangles. Firmly press perforations to seal.  Flatten slightly on cookie sheet.


5.  Spoon 1/3 of cup of meat on each rectangle to about 1/2 of an inch to one of the edges.


6. In bowl, beat eggs and water together. Brush on the edges of the dough.  Fold dough in half and brush with egg. Fold completely shut.


7. Cut 3 or 4 slits in the top of each pasty. Cook for 15- 20 minutes until golden brown.


If you chose to make a sauce to pour over the top of each pasty; mix together sour cream and horseradish to taste.

I decided not to make a sauce because it really didn't need it. Also, the extra calories in the sour cream don't really sound too appealing to me.

Alex really loved his. He ate it like a sandwich. Kind of like the miners did up north in the 1800's.   I will most definitely add this kid friendly recipe to my normal meal rotations. 

I asked Rob last night what he thinks about coming home and not knowing what he's going to have for dinner next. He said that he doesn't mind it at all (hopefully he's telling the truth.) I have been really into cooking with pesto lately. I can't believe that I lived so long without cooking with it. It is so tasty and full flavored. I also love cooking with fresh garlic cloves.  I love the smell of the minced garlic cooking in the pan. It's so buttery and comforting.  I've been experimenting with a lot with different sauces too. I made this really great Polynesian sauce and cooked it over homemade meatballs.  It was delicious.  Hmm. Hmmm. Hmm.

I hope you all enjoy my food from the heart for today.

One Love,

Virginia


5 Minute Pumpkin Pie

Thursday, October 21, 2010

5 Minute Pumpkin Pie
Now that's a pie I can make!

When I sat down to make this recipe I was ready to get down and make some pie! Then I read the instructions... Mix ingredients in sauce pan. Cool.  Pour in crust..... What?!? I'm loving this!

The best part of the recipe is that the ingredients aren't bad for you! It's a healthy pie! There really isn't anything in this that has a high caloric content (it's still good though don't worry).  Also, you can make one substitution and make this the perfect diabetic very low in sugar pie!

On a side note, my little helper Alex has really gotten into this blog thing too. We were making Playdough food today and he actually said, "take picture for blog". No Joke. I was so swelling with pride that I had to take these pictures just for him. So, in honor of my best helper, I have the two year old Playdough sandwich recipe ( it's really funny and cute, I promise.) Be sure to check out the video below of his Playdough taste test. It will make smile for sure!

Here are the directions to this 5 minute pumpkin pie.

Easy 5 minute Pumpkin Cream Pie

Prep Time: 2 minutes
Cook Time: 5- 10 minutes
Clean up Time: 2 minutes
Cool time: 4 hours


1 Package of vanilla pudding (substitute sugar free for the perfect diabetic pie!! )
3 Tbsp of sugar
1 Tsp pumpkin pie spice
1 Can evaporated milk 12oz
1 Egg slightly beaten
1 Can pumpkin 15 oz
1 Baked frozen pre-made 9-inch pie crust

1. Put pie crust in the oven to cook. Cooking time may vary. My pie crust said 10 minutes.


2.  Combine pie filling mix, sugar, spice, milk, egg, and pumpkin in a pan. Stir over medium heat until it comes to a full boil. Make sure not to have the burner on high or it will scald the milk.


3.  Let mixture cool for 5 minutes.


4.Pour into baked pie crust.  Be sure to stir pie filling before pouring into crust. Let pie cool in refrigerator for 4 hours.  Since this is technically a pudding pie and not a standard pumpkin pie, when it cools it will not have the same thick consistency.  Despite the consistency difference it still is a delicious pumpkin pie!

Enjoy the pie that you put all the 'hard work' into. I really am reminded of a commercial about ten years back, I can't remember what it was for. It had the lady who simply put something in the oven and sprinkled flour all over her face to make it look like she was slaving in the kitchen.  Lol. I have had hamburger helper that I have slaved over more than this. Little Alex took longer making his Playdough sandwich (see below.)

So- that's all there is to it. I'm going to seriously pat myself on the baking for this master piece too. I am also really excited that I have made a desert that I can enjoy without having to worry about how many sugar or calories are in it.  Unlike the Chocolate and Oatmeal bars that were prob. somewhere close to 450 calories per serving, I bet this whole pie has close to 600 calories. So lets see a serving and a half of Chocolate Oatmeal Bars or a whole pie! I'll go with the pie on this one. Also, I'm not too sure how the weight watcher system would work on this one, but I think that you can count it as a vegetable too.


For Alex's second birthday  he got this giant tube of Playdough. I don't know exactly who it was from, but I'm thinking it might be from grandma. It has everything in it! It's got 45 cut out and squeezer machine pieces, all kinds of colors of playdough. It is really a ton of fun to play with- for all ages!! Below I have listed the 'recipe' for 'making' the playdough food.

Playdough food!!

One large can of Playdough stuff from Target

1. Dump the whole freakin' bucket on the floor. The more floor you can cover the better.


2. Cut out your little Playdough pieces!!


3. Put them together for you fun sandwich! Hey, Alex....But don't eat the Playdough pieces. Did you hear me, Alex?? Mama is only going to ask you one more time before I have to put it up!!! Ok, thank you sweetie, you're a good boy.

No, Alex was such a good boy! He really didn't try to eat the playdough food. We had the discussion at the library though with the play food that they have in one of their educational boxes. 

This maybe slightly self indulgent, but I really think this video is cute. I almost considered the thought that it would go viral. Then my common senses came back down, and I realized that it probably wouldn't.  I think this is the cutest video in the whole entire world. When Lil Al watched it he LOVED it! He kept on giggling and laughing. 

I hope you all have an excellent day! And enjoy cooking


If for some reason the video isn't working please click on this link  Playdough Food. Nom. Nom. Nom


One Love,

Virginia

Chocolate Chip and Oatmeal Cookie Bars

Monday, October 18, 2010

Chocolate Chip and Oatmeal Cookie Bar

AKA: Chocolate Chip Granola Bar's fat cousin before  The Biggest Loser.
If drinking a Guiness is equal to drinking you dinner, this is equal to eating your dinner.
Warning: Must eat with milk


Move over Triple Whopper with cheese, there is something more dangerous in town. It's the Chocolate Chip and Oatmeal Cookie Bars. It's ohhh soo sweet, oohhh soo chewy, AND ohhh so bad for you.  It contains a whole can of condensed milk.  If you're not familiar with condensed milk, it is the same thing that they use in fudge. I have to admit that I usually look at the nutrition facts on every label. You can all imagine how far my eyes rolled back in my head when I saw this label. Holy smokes - 1300 calories in this can alone. Once you add the almost 2 cups of brown sugar, half a bag of chocolate chips, not to mention butter - you get one "Big Mac" chocolate chip cookie bar. 

If you need to knock out of the deadly sins for the day, making this cookie bar will most definately get you one step closer.  It's so delicious.  After eating just one little square of this delicious treat my body was on an all over sugar buzz. 

There is a conception that when you make a 'bar' instead of a 'cookie' that typically the 'bar' comes out really dry.  This recipe is most definately not the recipe to make an oatmeal chocolate chip cookie. It really has been modified, and perfected to give you this freaking AWESOME treat.

Enjoy this everyone! Also, please be sure to go for a nice long walk/bike ride after you eat this. 

Chocolate 'N' Oat Bar

1 Cup flour
1 Cup quick- cooking oats
3/4 Cup firmly packed light brown sugar
1/2 Cup butter, softened
1 Can sweetened condensed milk
1 Cup chopped nuts
1 6 oz package semi- sweet chocolate morsels (half of a bag)

Preparation Time: 10 Minutes
Cooking Time: 40 Minutes
Clean Up Time: 10 Minutes
Time on the Tredmill: 1 hour

Preheat oven to 350 degrees

1. Combine flour, oats, brown sugar and butter. Mix well.

2. Reserving 1 cup of oat mixture, press the oatmeal mixture in the bottom of you baking dish.


3. Bake for 10 minutes at 350 degrees

4. Pour one 14 oz can of sweetened condensed milk over baked crust.

5. Sprinkle with nuts and chocolate chips


6. Top with remaining oat mix.  Press down. Make sure to cover the edges and corners with the oat mixture.  This will ensure that the condensed milk does not boil over the edges during baking.


7. Bake 25 to 30 minutes until lightly browned.  Cool.


I hope you all enjoy.  Also, it helps out if you can get a little helper to do the dishes ;)


One Love,

Virginia