Mississippi Mud Cake

Monday, November 29, 2010

Mississippi Mud Cake
My Thanksgiving Offering
M-i-ss-i-ss-i-pp-i Mud Cake
The Ten Pound Cake

I made this cake to bring with us for Thanksgiving. I thought for sure with all of the sweet and tasty ingredients that it would be delicious.

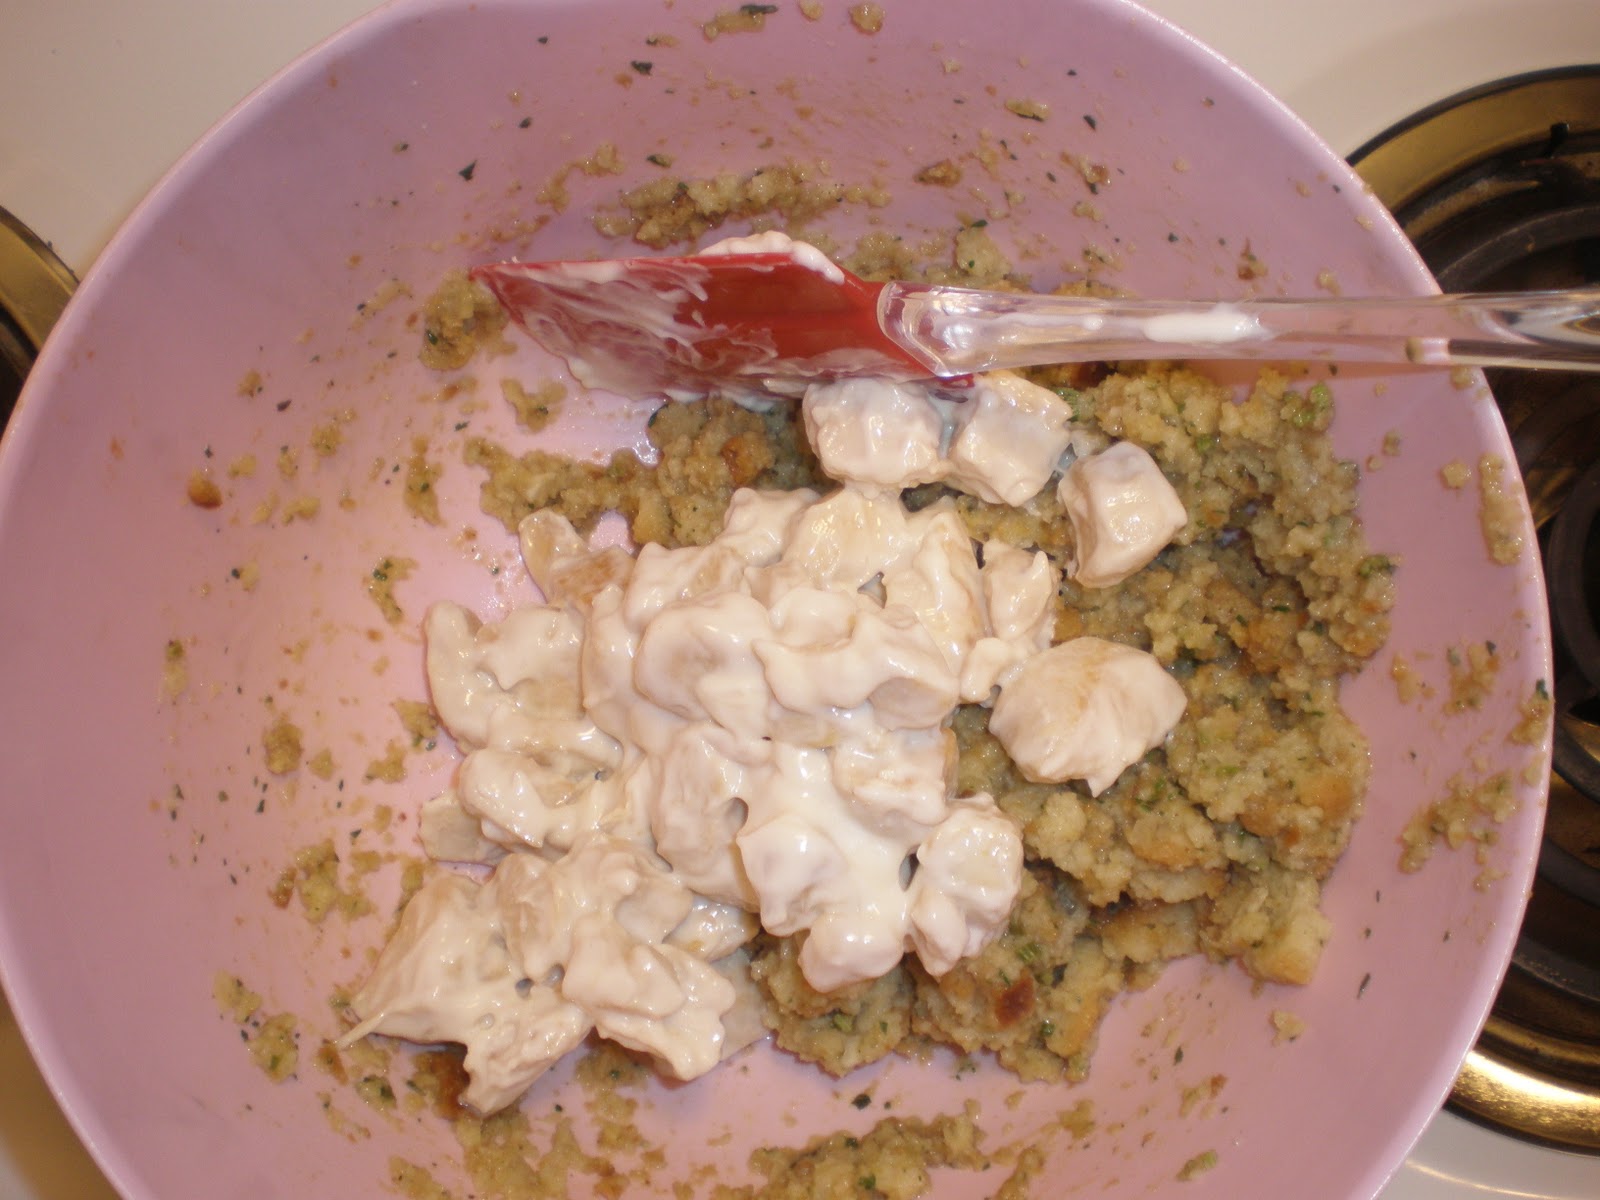
It is a sweet chocolate and coconut cake with toasted walnuts, and a marshmallow frosting and middle. The cake was very moist, and the marshmallow was very gooey. This is actually my first time ever using marshmallow fluff, and I didn't expect it to be the sticky and messy, but it all turned out in the end, which is one thing I am truly thankful for. :)


Mississippi Mud Cake

1 Cup Butter
2 Cups Sugar
2 Tbsp Cocoa
4 Eggs
1 Tsp Vanilla
1 1/2 Cup Flour
1 1/2 Chopped Walnuts or Pecans
1 1/2 Cup Coconut
1 Sm. Jar Marshmallow Fluff
Chocolate Frosting

Preheat oven to 350 degrees

1. In a large bowl, cream together:  butter, sugar, and cocoa.
2. Beat in eggs, and vanilla


3.  Gradually add flour, stirring well.


4. Fold in nuts and coconut. Batter will be very heavy.


5.  Spoon into greased 9 x 12 pan.  Bake at 350 degrees for 40 Minutes.


6.  Spoon contents of one jar of marshmallow fluff on top of cake.  Bake for 5 minutes.


7. When Cake is done. Frost with chocolate frosting ( I made my own), and decorate.


I thought this cake tasted very good. When I was decorating the cake, I cut it in half and was going to put one half on top of the other. Unfortunately, I didn't get it quite square, and because the marshmallow was so sticky I really couldn't move it. LOL. Oh well. Also, the marshmallow was sooo messy.  Thankfully, I read the back of the can and it said, 'to clean use hot water'. The hot water really did the trick. I decorated my cake with coconut and chocolate chips because since this is a new cake, I kind of like to clue people into what is on the inside. I hope you all enjoy. Happy Holidays.

One Love,

Virginia


Left Over Casserole

Thanksgiving Casserole
Left Overs. Reinvented

I made this before the Thanksgiving holiday, and realized that after it was done that this whole thing could be made just using left overs from thanksgiving with just a few extra ingredients.

This was really creamy and rich.  It took all my favorite left overs and stuck them into one dish. Yes! 

In this recipe, I used chicken. However; you can easily substitute cooked turkey for chicken instead.

I hope that you all enjoy.

Thanksgiving Casserole
Formerly Chicken Casserole

1 Pkg Stuffing
4 Tbsp Margarine, Melted
2 1/2 Cups Turkey or Chicken, Cooked
1/2 Cup Onion
1/4 Cup Mayonnaise
3/4 Tsp Salt
2 Eggs
1 1/2 Cup Milk
1 Can Condensed Cream of Mushroom Soup
1/2 Cup Grated Parmesan

1. Prepare stuffing as directed.


2.  Place half of stuffing mixture on the bottom of a 9 x 12 baking pan.


3.  In medium bowl mix turkey or chicken, onion, mayo, and salt.


4. Mix turkey in with stuffing mixture.


5. Pour over stuffing in pan.
6. Mix together egg and milk. Pour over pan.


7. Refrigerate until chilled.
8.  Spread cream of mushroom soup over casserole. Bake at 325 for 40 minutes.


9.  After Baking, Sprinkle with Cheese and bake until cheese is melted.


... And there you have it! A way to re- prepare your holiday left overs. 

I hope that you all have a wonderful day. :)

One Love,

Virginia

Potato Pancakes

Sour Cream Potato Pancakes
Hash Browns With a Kick
Is This Really a "Pancake"?

It's been a really long time since I've had potato pancakes. The last time I can remember having them was when my aunt made them for me in Tennessee about 12 years ago. I really didn't like them then; and to be completely honest, still not to crazy about them now.  However; I am not closed minded, and I gave this a chance since it had been so long.

There is nothing like the smell of greasy fried potato stuck in an apartment. Yum. Yum. Yum.  Ok, not yum, it was pretty gross.  I would first like to say that I am not really a fan of a lot of fried foods beside chicken nuggets. I like a few french fries every now and then, but the taste of greasy nasty grease really gets to me. But let me not be partial, and describe this recipe to you.

The potato pancakes were very creamy inside.  It had a very nice texture, and cooked very well. It really did look pretty on the outside with it being golden brown and crispy.  They were fun to cook.

I hope that those of you that like potato pancakes really try this out for yourselves. I'm sure you will like the, unlike picky me.

Sour Cream Potato Pancakes
(Sour cream makes these pancakes extra light and tangy)

3 Lg. Idaho Potatoes
2 Eggs
1 Small Onion, grated (1/4 Cup)
1 Cup Sour Cream
1/2 Cup All Purpose Flour
1/4 Tsp Baking Powder (not soda)
1 Tsp salt
1/4 Tsp Pepper
Vegetable Oil for frying

Makes about 30 pancakes

1. Cut potatoes and shred into a bowl of cold water.  Drain, then rinse in cold running water.  Squeeze firmly in paper towel to remove as much water as possible. This will keep the potatoes from discoloring.


2.  Beat eggs in a large bowl until frothy.


3.  Add potatoes, onion, sour cream, flour, baking powder, salt and pepper; stir. The mixture will be loose.


4. Heat oil in large skillet. Drop potato mixture by tablespoon into hot oil.


5.  Flatten with spatula to make an even thickness.  Brown one side about 5 minutes and flip. You will be able to tell when one side is done when you see the edges turn golden brown.


6.  Place cooked potato pancakes on paper towel to absorb excess oil.
Serve with apple sauce.


There you have it! Potato pancakes!  It took a little bit of fiddling with the oil temperature on my stove to get the pancakes to cook just right. If it was a little too low, they wouldn't brown. If it was a little too high, it would be too dark. I finally found a spot right between the 7 and 8 on my dial that worked to mass produce these little pancakes.

I hope that you all enjoy!
One Love,

Virginia

Honey Glazed Chicken

Honey Glazed Chicken
The sweetest chicken I've ever had

So, I have to apologize for the end pictures on this one. It might just be one of the least attractive end pictures you have ever seen, but please don't let that dissuade you from trying this. That stuff in the picture to the right that looks like gravy- not gravy. Its a sweet honey citrus sauce with cinnamon and sugar. 

When I gave this to my little boy, I told him it was candy chicken. He completely went for it. That was actually the first thing on his plate that he ate the whole portion of.  I really liked this because the glaze made the chicken extra tender underneath, and the top was so sweet that I kind of felt like it was more of a desert than an entree.

The sauce is a really sauce that thickens quite a bit when it is heated up. It is made up of honey, orange and lemon juice, worcestershire sauce ( thank God for spell check on that one), and cinnamon. Very tasty! I hope that you all enjoy.

Honey Glazed Chicken

1 lb Chicken
2 Tbsp Butter
1 Tsp Salt
1/4 Tsp Pepper
1/2 Cup Crushed Cornflakes
2/3 Cup Honey
Glaze:
1/2 Cup Fresh Orange Juice
2 Tbsp Flour
1 Tbsp Lemon Juice
1 Tsp Worcestershire Sauce
1 Tsp Cinnamon

Preheat oven to 400 Degrees.

1. Brush chicken with margarine and sprinkle with salt and pepper
2. Roll chicken in crushed cornflakes.


3. Bake uncovered at 400 degrees for 45 minutes, or until chicken is golden brown.


4. While chicken is baking, prepare glaze.  In saucepan combine: honey, orange juice, flour, lemon juice, worcestershire sauce, and cinnamon. Cook on medium heat until bubbly and thickened.


5.  Remove cooked chicken from oven and drain off any excess fat. Spoon glaze over chicken in baking pan. Sauce will get very thick while it cooks on the chicken.


I really enjoyed this sweet chicken.  A funny thing about the recipe directions though. The recipe was all typed out on a sheet of paper. And after all the instructions there was one last line- it said "P.S. Before placing chicken in baking pan; roll in crushed corn flakes. Should have been added in the preparing of chicken".  When I made this I started cooking the chicken without the cornflakes on it.  Then as I read through the recipe for the glaze, that's when I came to the "P.S" part.  LOL.  You can kind of tell in my picture above that the chicken is already a little cooked when I rolled it in the corn flakes :).

I hope that you all have a great day.

One Love,

Virginia

Ice Cream Candy Cones

Sunday, November 14, 2010

Ice Cream Candy Cones
Bugle Cones
Easy Novelty Candy in No Time

This is a great little sweet treat to bring to fun holiday parties.  It is a sweet candy dipped in chocolate with sprinkles set on top of a bugle to make it look like little ice cream cones! It's very cute, and also very tasty.

Ice Cream Candy Cones

2 Tbsp Butter (no subs.), softened
1 1/3 Cup Confectioners' Sugar
1/4 Tsp Salt
1/4 Tsp Vanilla Extract
2 Tbsp Sweetened Condensed Milk
1 Bag Bugles
1/2 Cup Semisweet chocolate chips, melted, optional
Assorted Sprinkles, and or nuts

1. In a small mixing bowl, cream butter and sugar


2.  Beat in salt and vanilla


3.  Add Condensed Milk.  Mixture will be stiff.


4. Roll filling in 1/2 " balls and place on top of bugle cone.


4.  Place 'ice cream cones' in refrigerator. Melt Chocolate Chips.


5.  Roll 'ice cream cone top in chocolate and decorate with sprinkles or nuts.


6. Place in refrigerator to cool candies

I hope you all enjoy this fun holiday recipe!

One Love,

Virginia

Crepes

Crepes- 1950's
"Swedish Pancakes"
" ' Old country' flavor without old-time fussing!"
Pancake Donut (2 yr old talk)

This a great basic crepe recipe! I love crepes, but rarely ever eat them.  When I was reading through the recipes this was called, "Swedish Pancakes".  I never thought of a crepe as a Swedish pancake before, but maybe I need to know more about crepes.  I also love the tag-line underneath it. " ' Old country' flavor without old- time fussing." I wonder what old time fussing is. What do you think that they had to do that would have taken longer to make this? Grind the flour themselves?  I guess I will never know.

Anyways, this is a great basic crepe recipe. The crepes where sweet and thin. There are a lot of different things that you can put inside it, but I just went for some strawberry preserves. Now that I know that I can make these, I might just look up other great things that I can put in the middle. :) Enjoy!

Basic Crepes

Preparation Time: 5 Minutes
Cook Time: 2 Minutes/ Crepe
Clean Up Time: 10 Minutes
Makes 20 Crepes

1 1/4 Cup Bisquick
2 Cups Milk
3 Eggs
1/4 Cup Butter, Melted
Jelly for Center

1.  Beat together all ingredient.


2.  In 6" or 7" non stick skillet, spoon 3 Tbsp of batter.

3.  Cook until small bubbles appear on surface.  Loosen edges with spatula, turn pancake gently and finish baking other side.


4.  Spread each with sugar, jam, applesauce, or whipped cream.


5.  Roll up like Jelly Roll. Serve warm.


I hope that you all enjoy this.

One Love,

Virginia


Peach Crisp -1956

Saturday, November 13, 2010

Peach Crisp- 1956
"Give me some of that cobbler/ pie/ crispy thing"

When I came home from Pizza Hut, and Rob had taken this out of the oven, all I could smell was this sweet peach cobbler smell all over our house.  The aroma was so intense that I might even consider making this as a potpourri (not really.)

This was just the right amount of sweet for us.  I don't think that Rob or myself really like things that are overly sweet. It was a little bit of sweet topping combined with the sweet and slightly tart peach filling underneath.  The texture of the crisp was crispy on the top and a cobbler like texture underneath.  The peaches were baked just right so that they retained all of their juices, yet were soft enough that they balanced the texture of the crispy top.

For this you can use either fresh fruit or canned fruit. I have really gotten hooked on these all natural jarred peaches from Dole. They are jarred in 100 percent peach juice.  Also, the color of the peaches is correct. Sometimes when you buy canned peaches and open them up, they aren't the same color as fresh peaches. So, Dole, here is your free endorsement. :) You can send me a case of your these peaches now. Ha ha. 

For this recipe it really is your choice if you use peaches or apples.  I chose peaches because I wanted something different from all the apples that I have eaten over Michigan's apple season.

I really hope that you enjoy this recipe :)

Peach Crisp

4 Cups peeled fresh peaches or 3 small jars/cans, drained
2 Tbsp Water ( If you are using fresh fruit)
1/4 Cup Sugar
1 1/4 Cup Bisquick
1/2 Cup Sugar
1/2 Tsp Cinnamon
1 Egg, Slightly Beaten

Prep Time: 10 Minutes
Cooking Time: 20 Minutes
Clean Up Time: 10 Minutes
Servings: 6 to 8

Preheat oven to 400 degrees

1. Place fruit in the bottom of a 9 x 12 non stick or greased pan


2. Sprinkle with 1/4 Cup of Sugar.  Sprinkle first with 2 Tbsp water first if using fresh fruit.


3. Mix Bisquick, sugar, and cinnamon.


4. In separate bowl, beat one egg.


5. Slowly add dry ingredients to egg mixture. Stir constantly until crumbly.


6. Sprinkle mixture over peaches.


7. Bake at 400 degrees for 20 minutes until crust is golden brown.


I really hope you enjoy this fun little treat. I hope you all have a great day.

One Love,

Virginia